Making a model of an island using plywood
A month ago, I’ve gotten a great Snapmaker 2.0 A150 3-in-1 that can print with plastic as a 3D printer, cut and engrave with a laser, and has a milling module that can also be used to make three-dimensional models or make circuit boards.
The package included a kilogram spool of black PLA thread for 3D printing, 2 pieces of plywood measuring 150 * 150 mm to test the capabilities of the laser and an acrylic plate to test milling.
First, I put the module for 3D printing and was impressed. Impressed by the process itself, how the finished product appeared layer by layer. Having no previous experience, I managed to print several items from the first attempt (almost the first).
The next step was to test the laser module. I didn’t want to cut out a simple test box that is available in the Luban project library. I wanted something interesting.
In search of inspiration
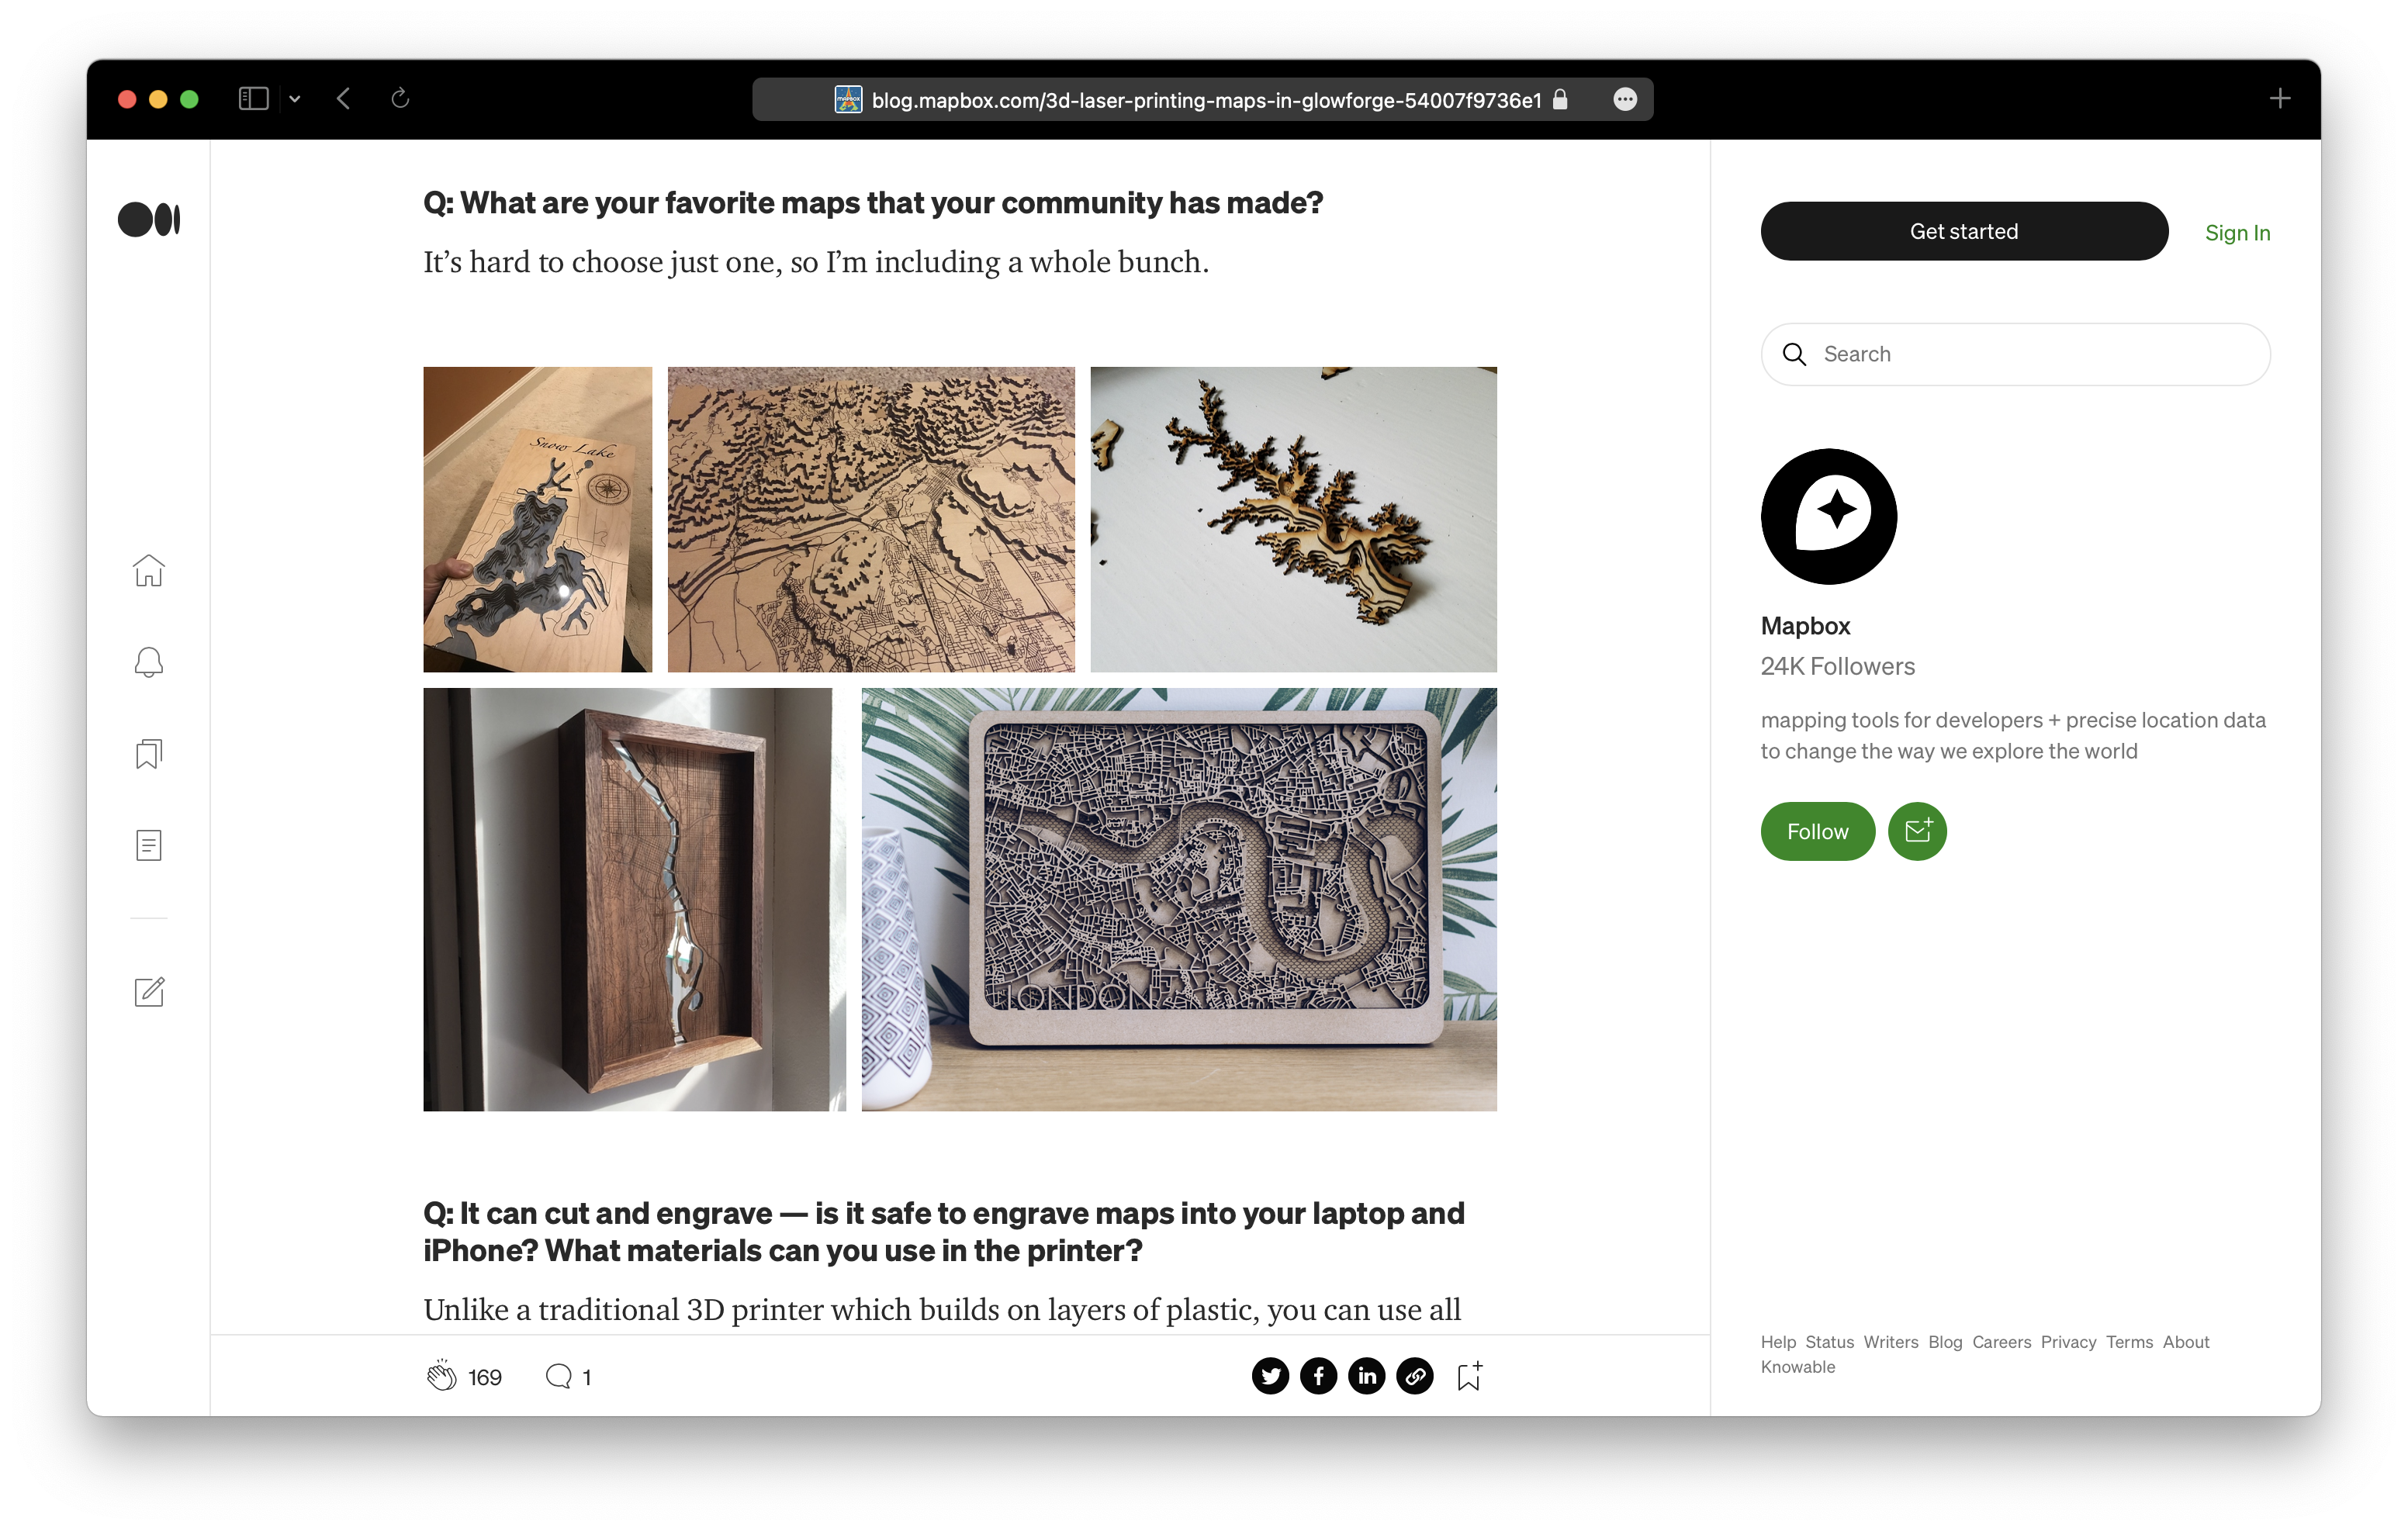
On the advice of Fedor Gontsa, I decided to make a relief model by cutting out parts of the two pieces of test plywood that came with the rig. I have already seen several examples of relief models created from layers of plywood in the post of Eric Gunderson, founder of Mapbox, a few years ago and now it’s time to do something similar myself.
To do this, I needed to find data on a digital terrain model of an area, for example, raw data that requires processing by specialized geospatial data processing systems, such as QGIS, or ready-to-use isolines data.
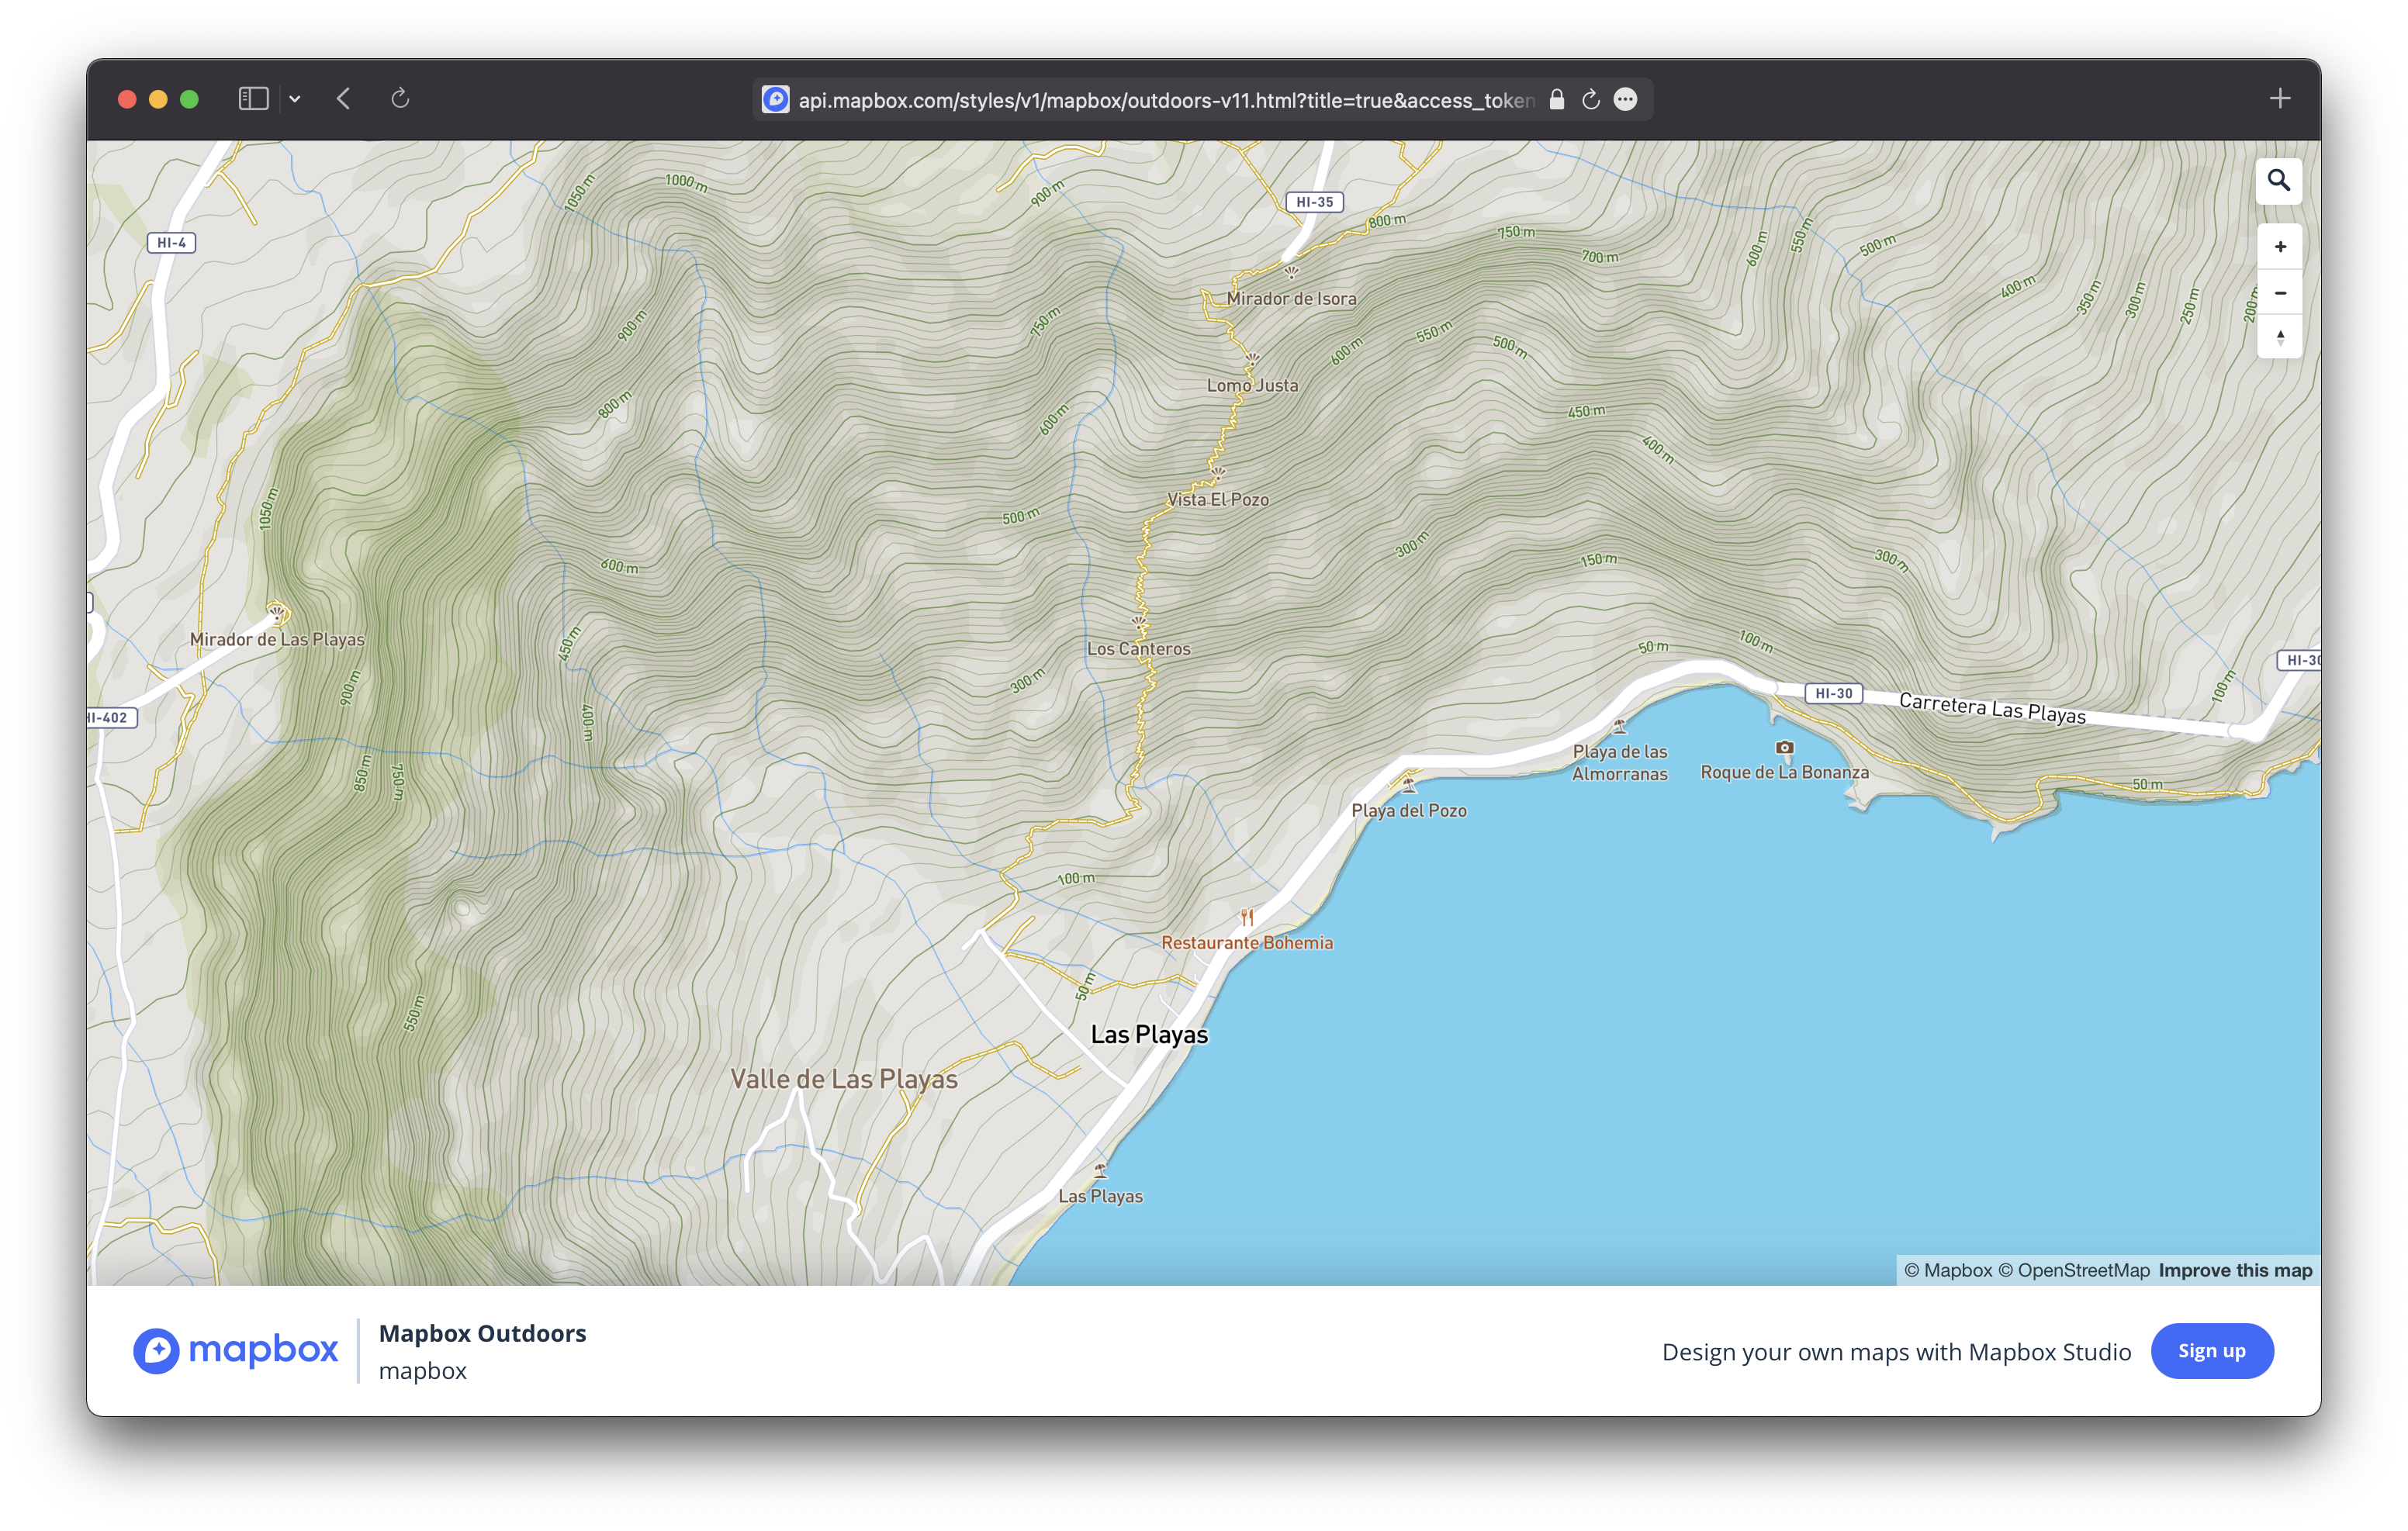 Mapbox Outdoors - There are isolines on one of the map styles from Mapbox
As an option, you can go to Mapbox Studio and take only the isolines, using the data set Mapbox Terrain v2 (https://docs.mapbox.com/data/tilesets/reference/mapbox-terrain-v2/), which contains exactly what we need. This is easy to do given the availability of detailed documentation with code examples and alike.
Getting isolines
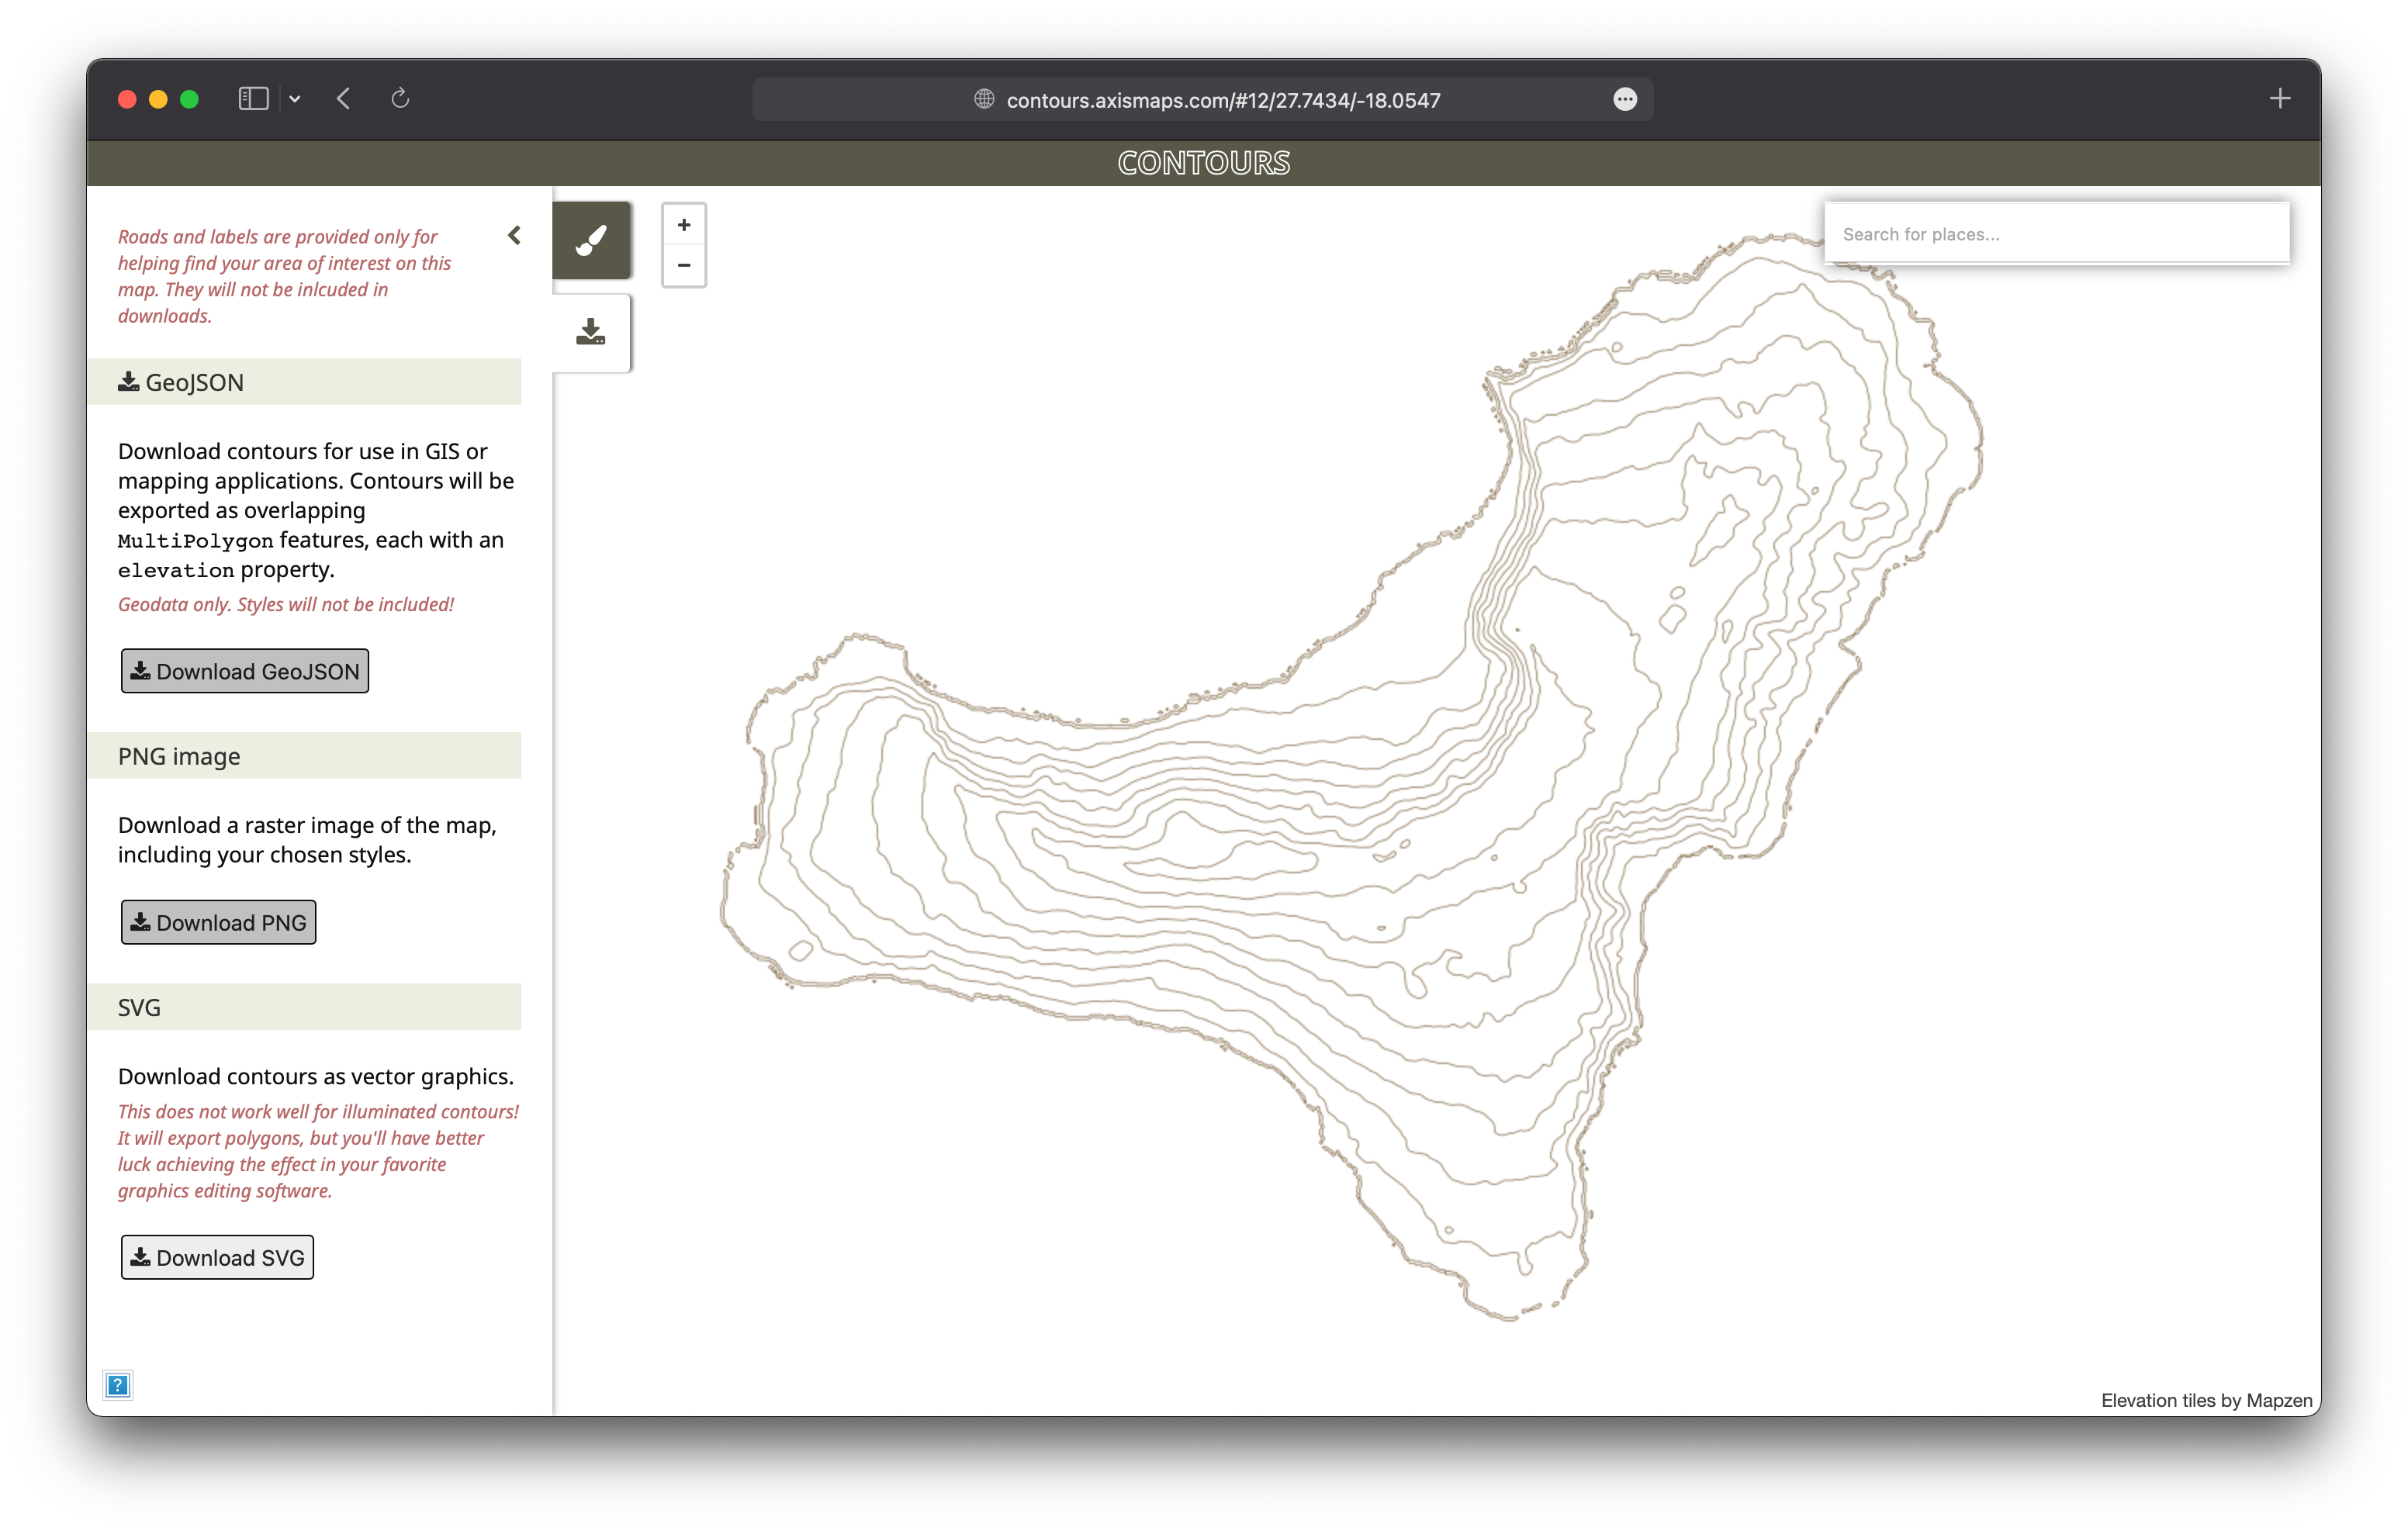
However, I came across another tool that already had everything I was going to do myself. https://contours.axismaps.com/#12/27.7434/-18.0547

It remained only to find an area with a clear relief. My choice fell on the Canary Islands, the island of Hierro (or as it is also called Isla del Meridiano). The height of the highest point of the island is 1501 m, it has steep slopes and expressive bays - just what I need.
Choosing a step of 500 feet, I got 10 layers that I needed to cut from two pieces of plywood.
I had only two pieces of plywood, but how to make 10 layers out of them? The solution was quite simple - to cut layers of 500, 1500, 2500, 3500 and 4500 feet from one plywood, and 1000, 2000, 3000 and 4000 feet from the another. I would have layers that overlap - just what I needed, I had only two pieces of plywood and I had to be frugal and get as little leftovers as possible.
Processing *.svg, preparation for cutting
I saved the isolines to the *.svg file and tried to open it directly in Luban. There I had the first problem. The thing was, I was hoping that Luban would allow me to extract each line from the *.svg file separately and assign it the appropriate instructions for cutting and engraving. On one piece of plywood I was going to cut isolines 500, 1500, 2500, 3500 and 4500 feet and engrave isolines 1000, 2000, 3000 and 4000 feet, on the other - vice versa. It turned out that in Luban you can set parameters only for all lines from the file at once - it does not have the ability to select individual lines from the file for cutting or engraving.
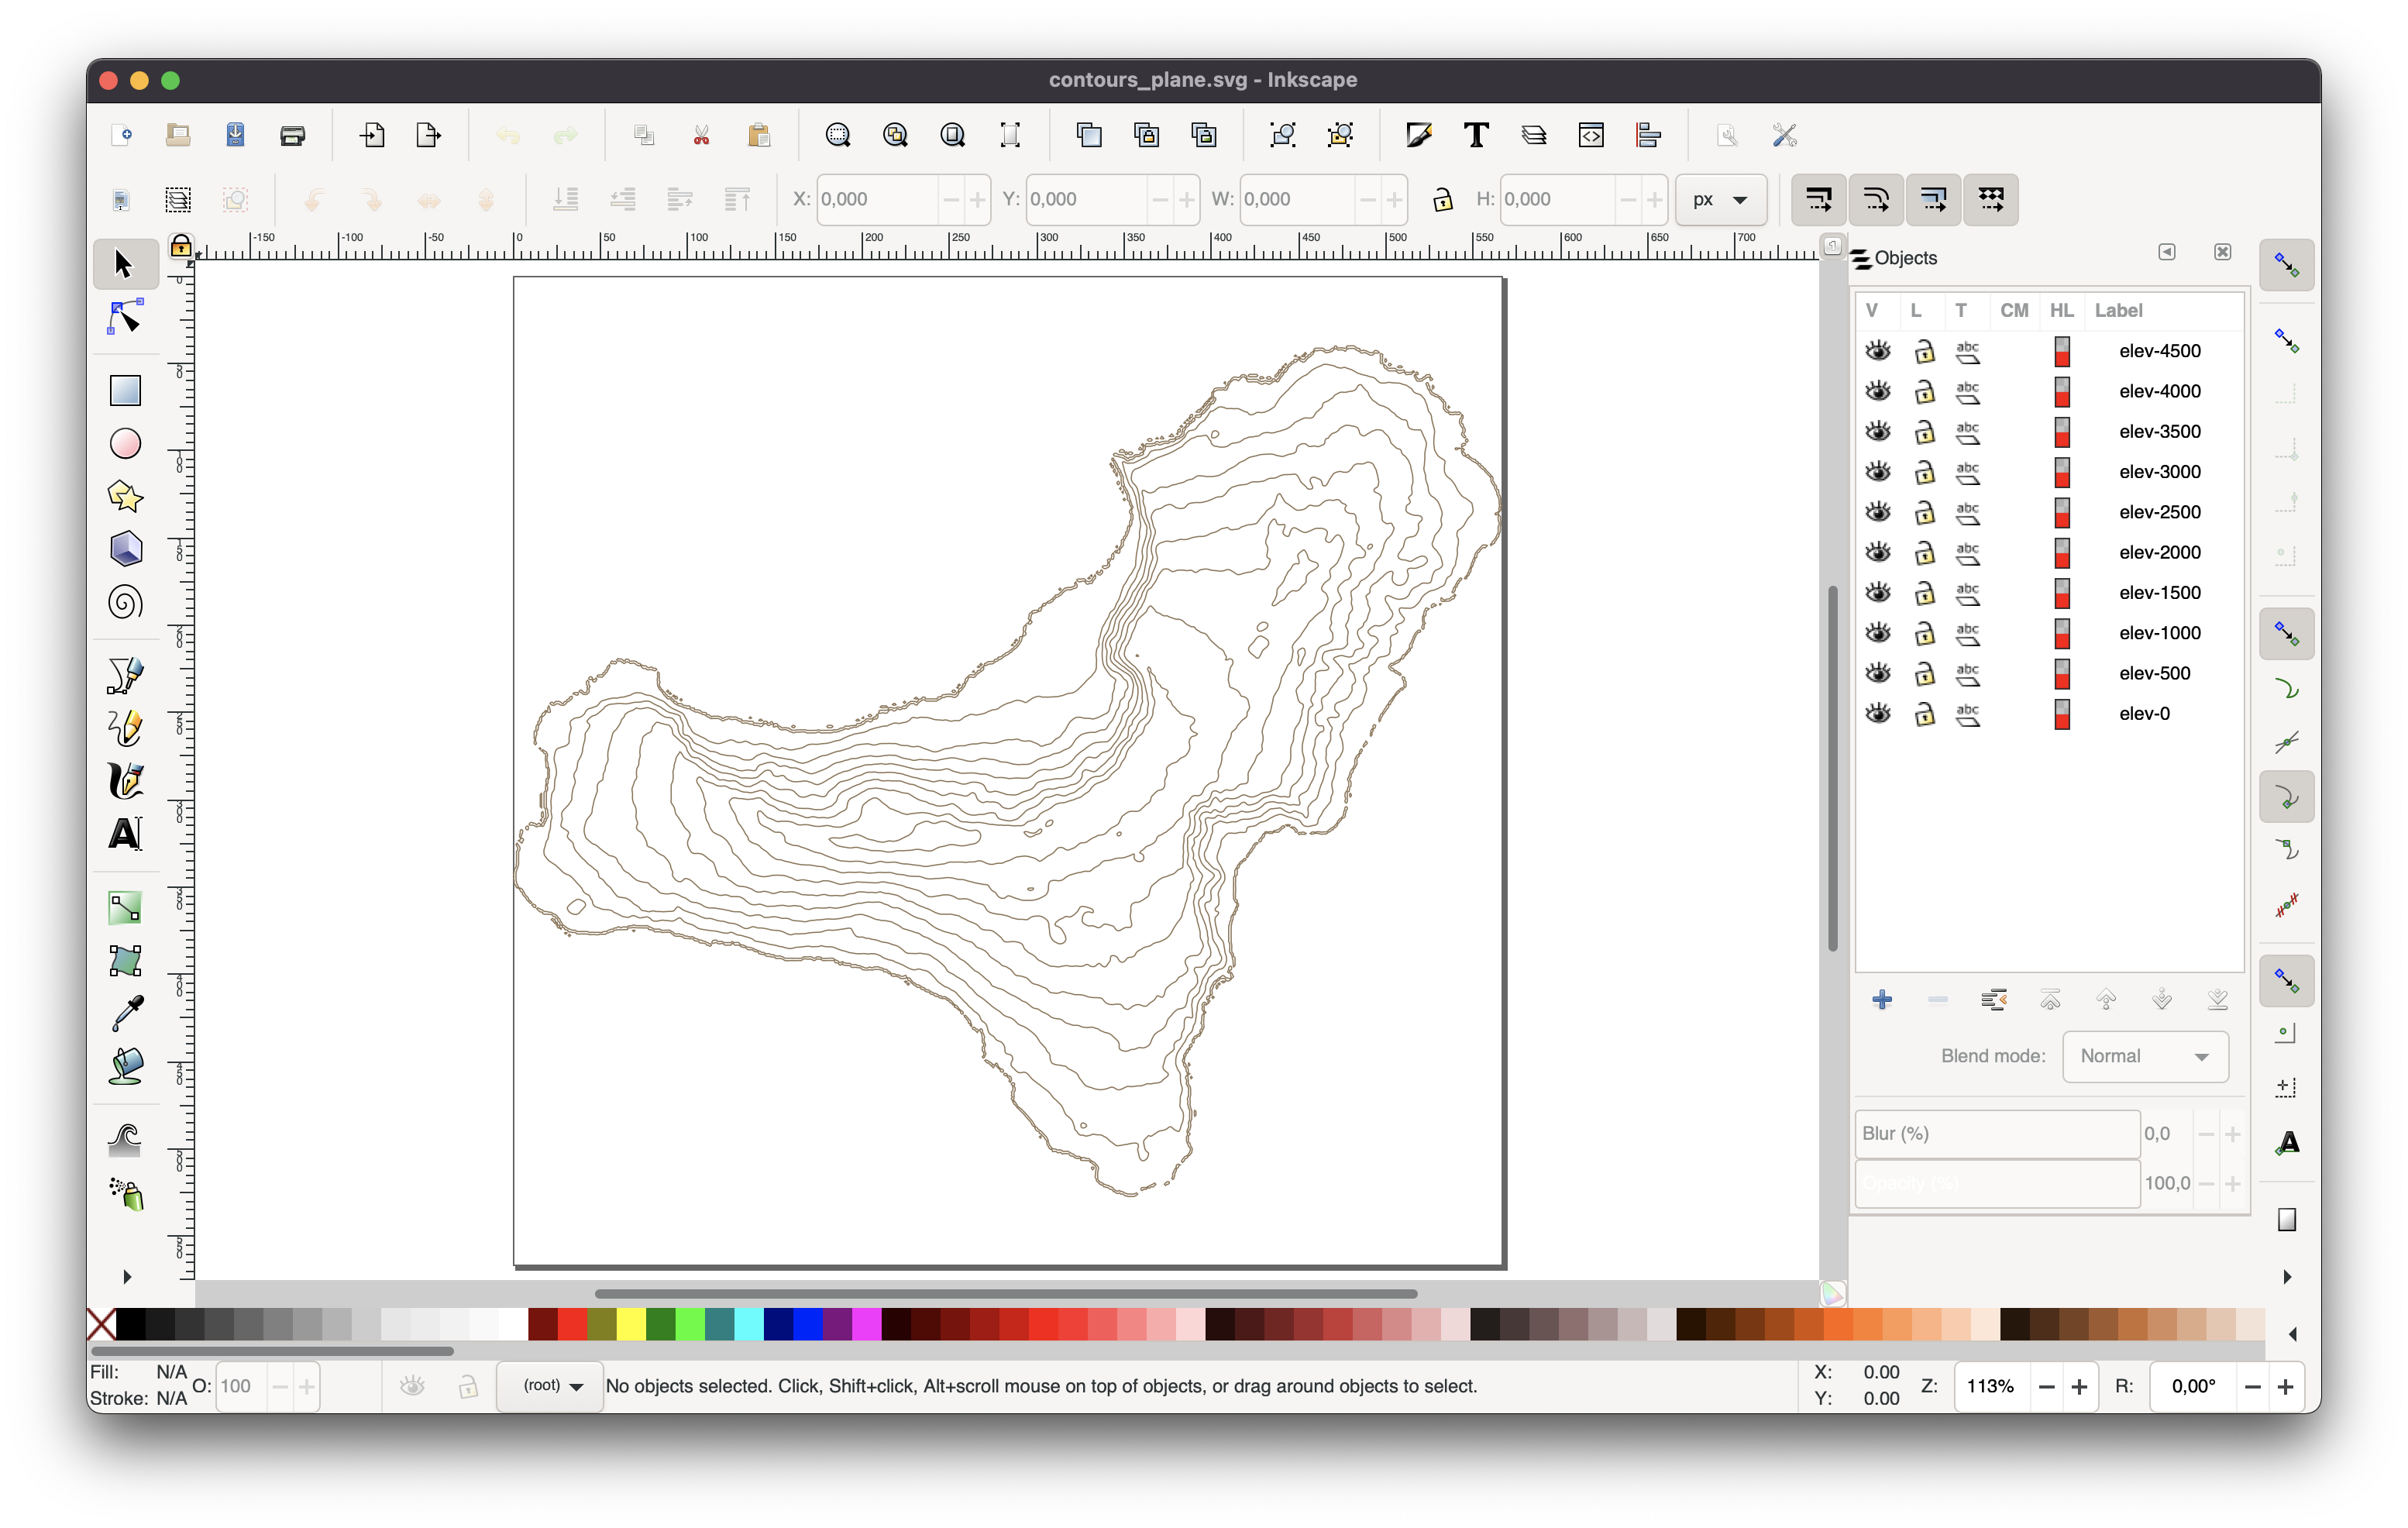
Here Inkscape helped me. I divided the file into three parts: in the first part I put a coastline isoline of 0 feet; in the second, isolines of 500, 1500, 2500, 3500 and 4500 feet; in the third, isolines of 1000, 2000, 3000 and 4000 feet. In addition, I’ve shrinked the files so that their side was 150 mm, the side of my pieces of plywood. It was also useful to simplify the lines, it would relieve my device a little from cutting too small details and reduce the file size from 400 kB to 17-25 kB each. Remember to save files in Plain SVG (*.svg) format.
| Shoreline | Odd isolines | Even isolines |
|---|---|---|
 |
 |
 |
| shoreline (*.svg) | odd isolines (*.svg) | even isolines (*.svg) |
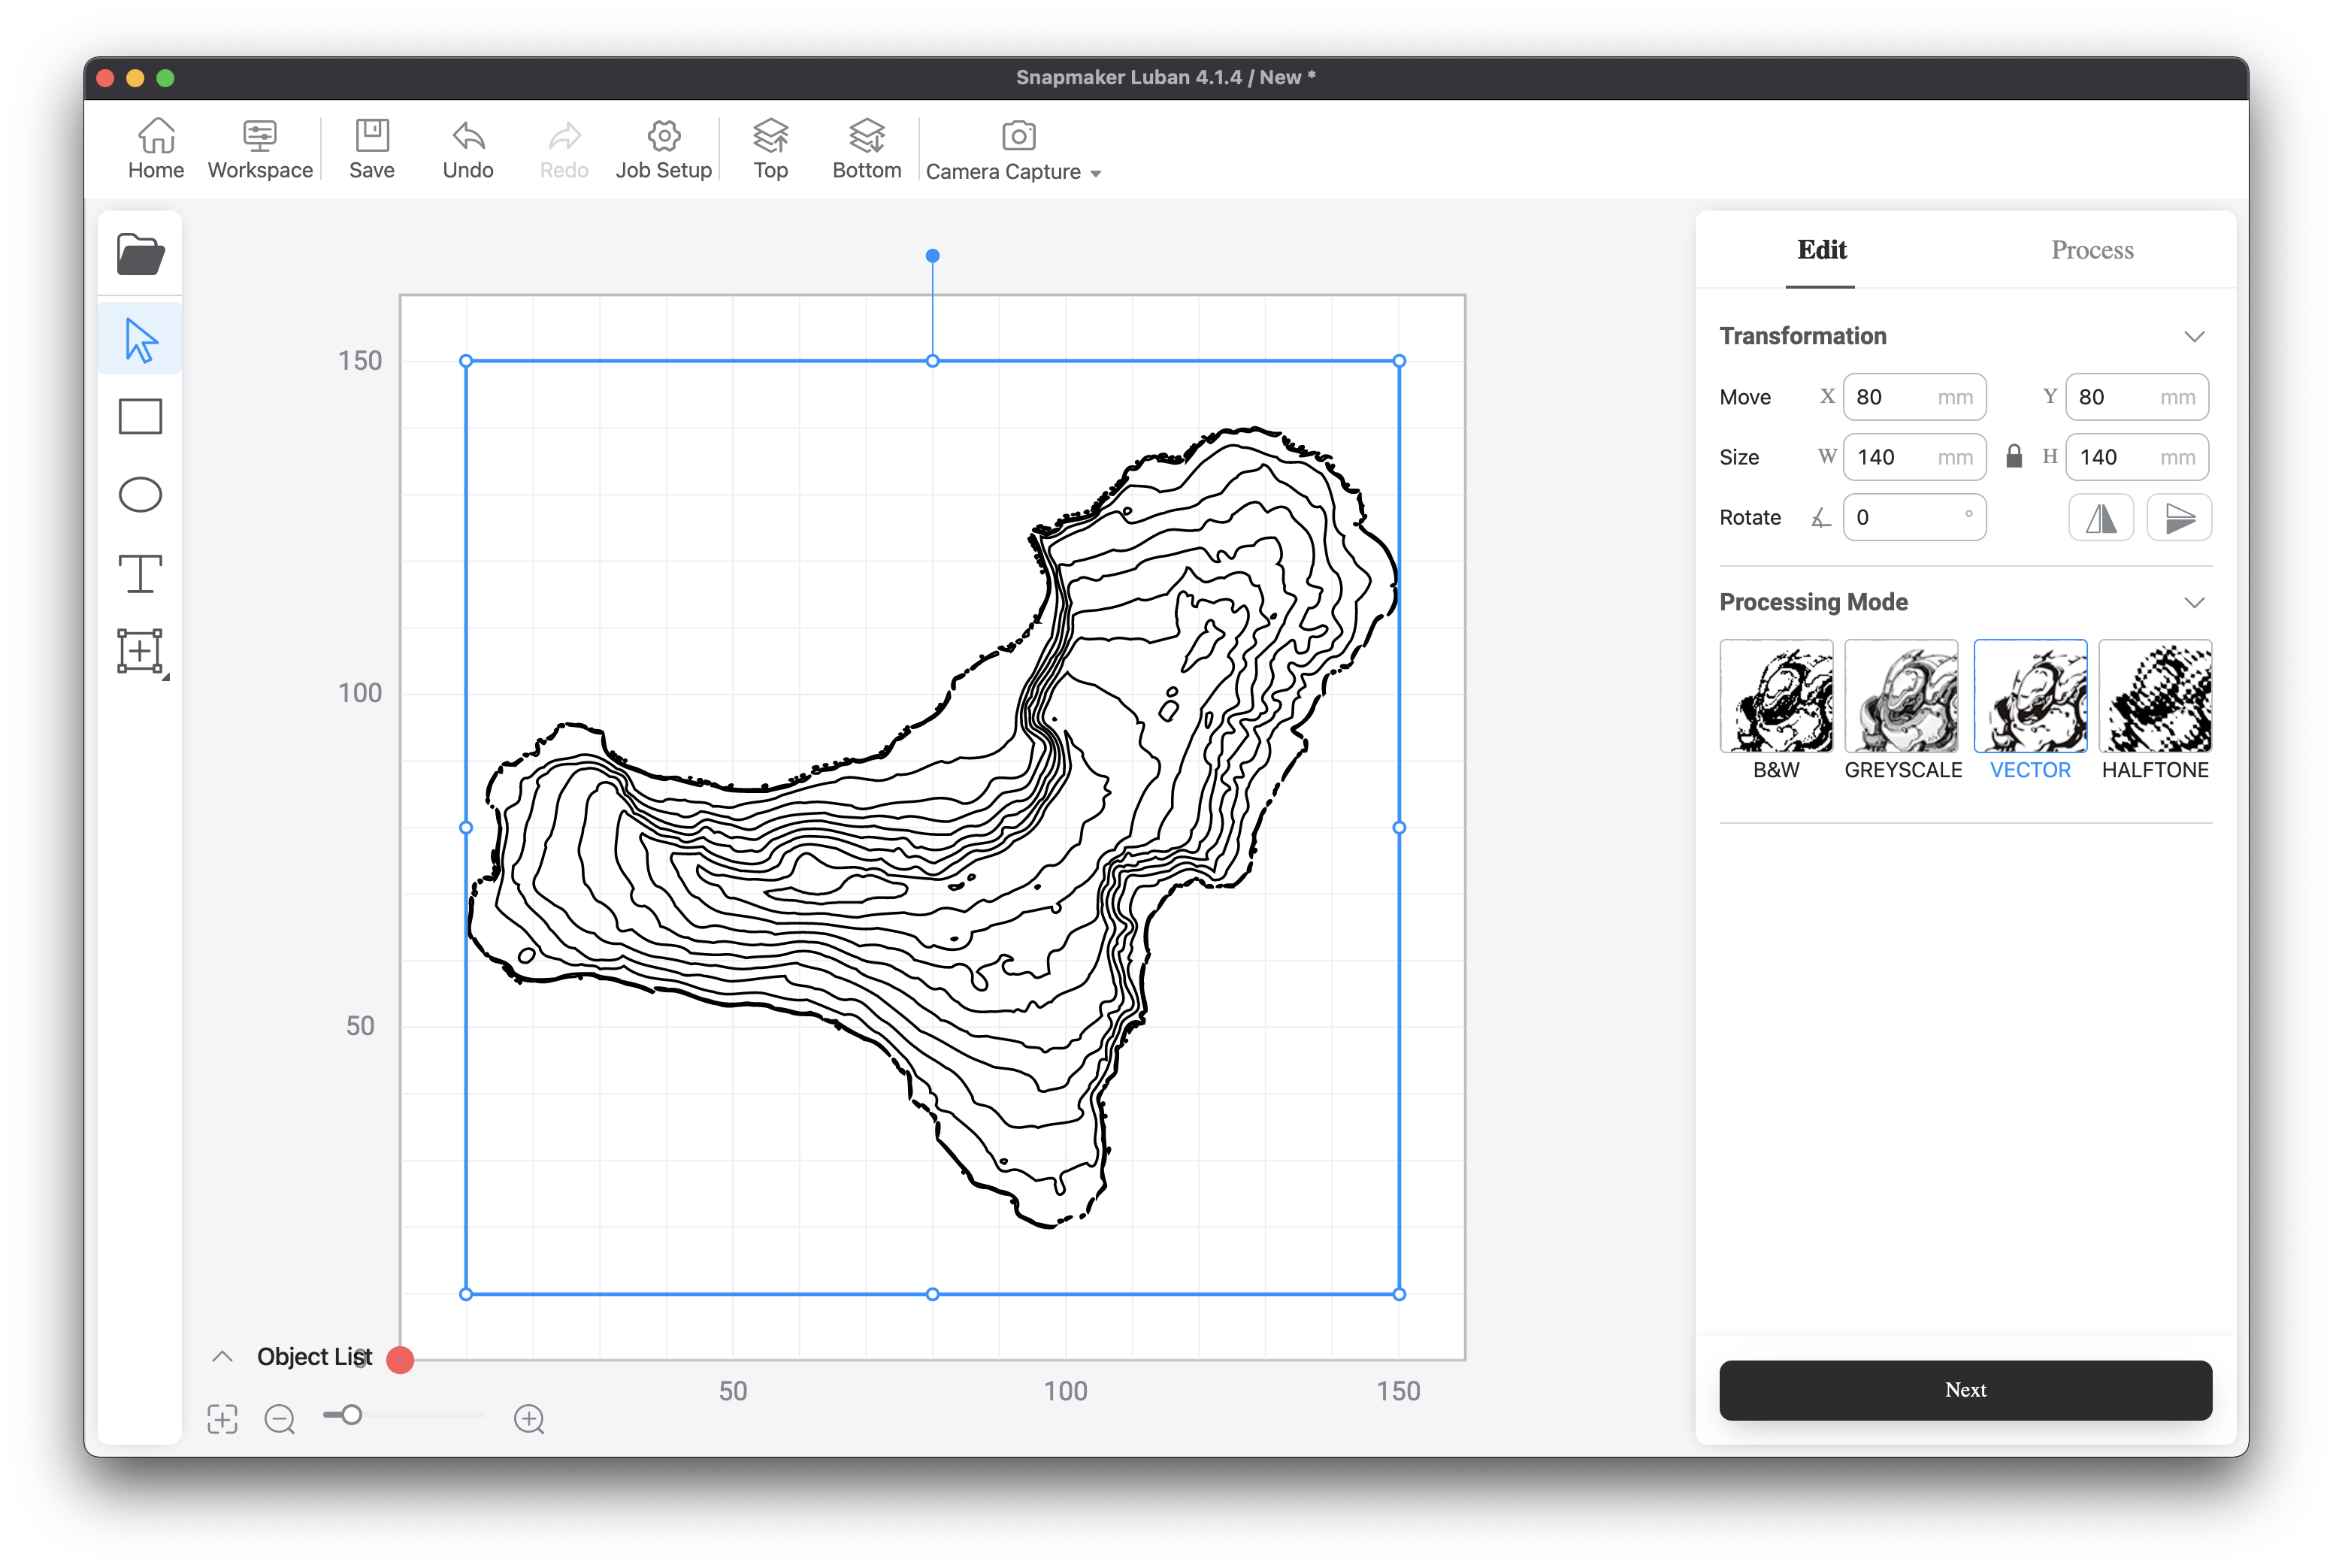
You can now open these files in Luban and assign settings to each of them for cutting or engraving.
Reduce the size for all files to 140 mm in Luban.
For the first piece of plywood we will take all three files: the file with the shoreline - we will engrave it, the file with isolines 500, 1500, 2500, 3500 and 4500 feet, which we will also engrave (they will serve as a guide for further assembly of our model) and a file with isolines of 1000, 2000, 3000 and 4000 feet - on which we will cut.

For the second piece of plywood we will take only files with isolines (without shoreline) and those lines that we engraved on the first plywood will now be cut, and those on which we cut on the first plywood - we will engrave.
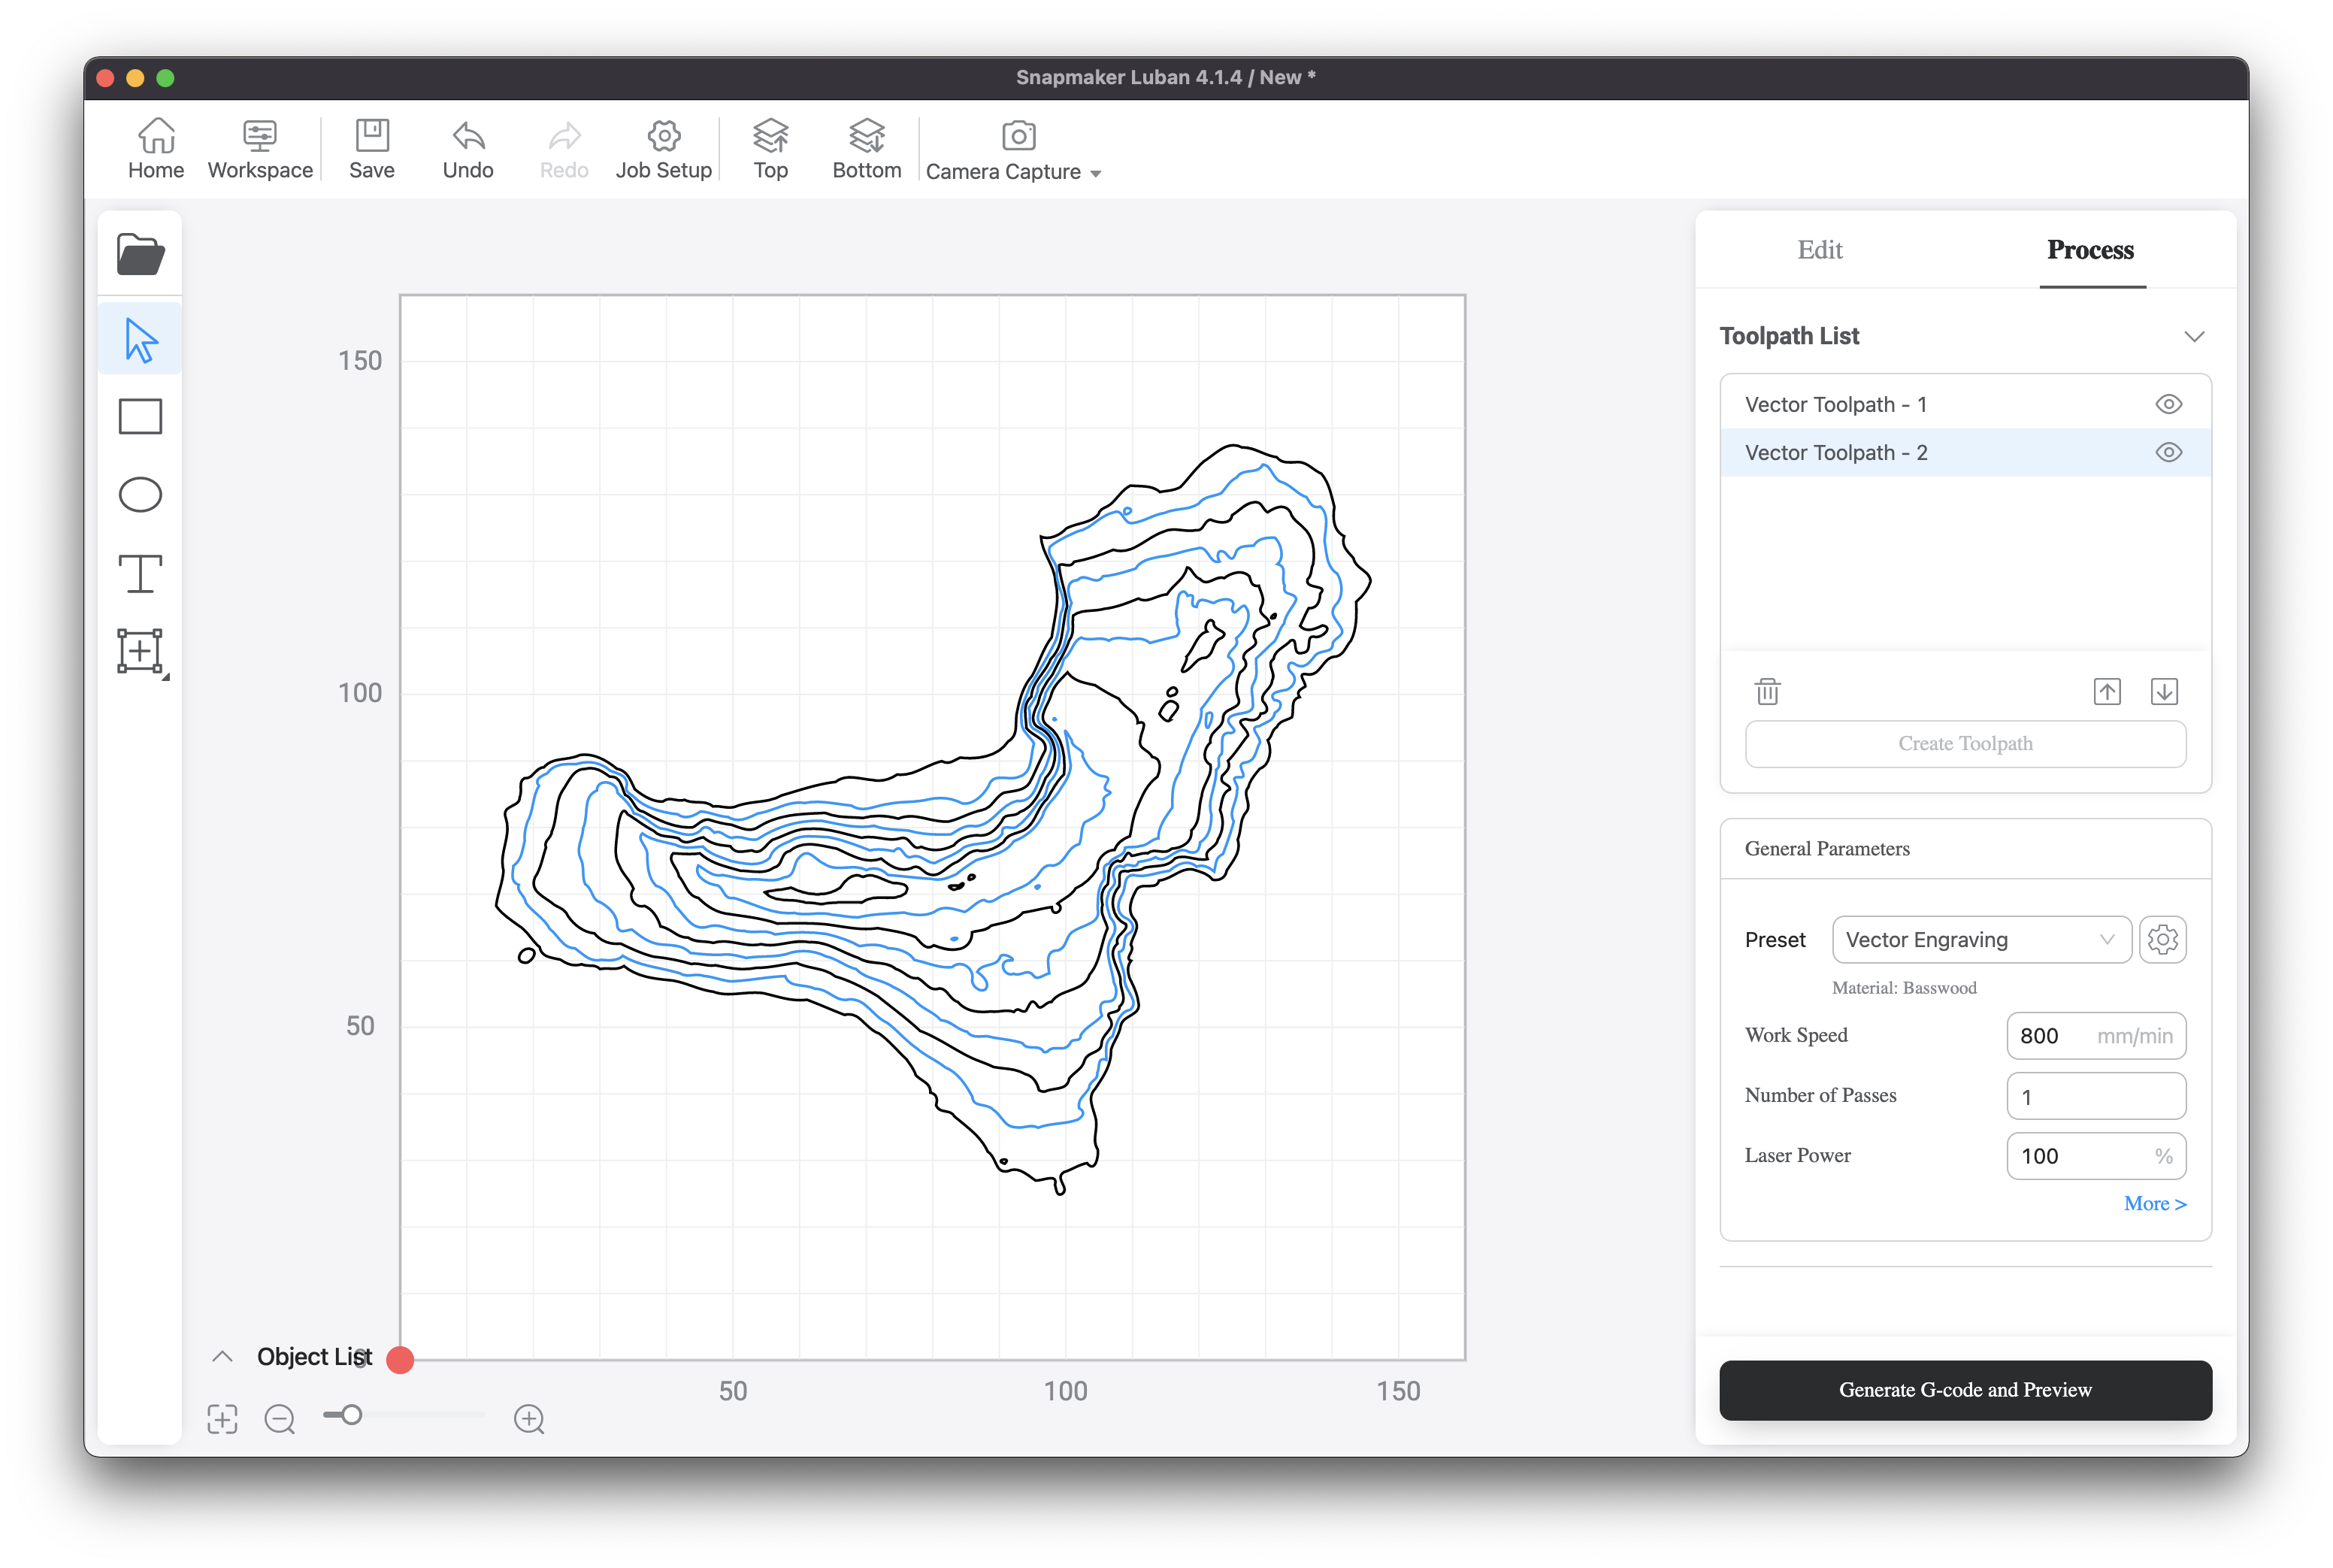
It turns out that the distance between the isolines for cutting is 1000 feet (in height) on both plywood.
Assembling the model of the island
The piece of plywood on which we engraved our shoreline will be the basis for assembly. On it we will glue the largest element from the second piece of plywood, then the next element from the first piece of plywood we will glue on top of the element from the second… and so step by step we will assemble the model of the terrain.
You can start assembling from the lowest layer and move up, or from the top layer and move down respectively.
Because my laser didn’t cut through a piece of plywood in all places and I had to separate the parts with a model knife, I decided to assemble the island from the top to the shoreline, removing the smallest elements first and applying them to the larger ones.
In the process of assembling, I thought it would be good to add the name of the island and its coordinates to the base, the largest detail on which I laser engraved the shoreline. After that I glued the island to the base.
Look what I have done!
— Andrey Golovin (@andygol_) February 5, 2022
Material: 2 pieces of plywood 1,5mm 150 × 150mm
Isolines: Elevation tiles by Mapzen
Processing: Inkscape
Cutting, engraving: #snapmaker 2.0 A150
Assembling: by myself. pic.twitter.com/2TAbXT71jH